Introduction
Before getting to the heart of the matter, let’s focus on a few elements that will allow us to have all the keys in hand to configure
First thing, what is a debugger, and what can it be used for? If you’ve never heard of it, you’ll understand its power in a few lines 😁.
When developing a web application, we are not going to lie to each other, it never works the first time. We write quite long, even complex functions, and we need to verify and test what we do. The easiest way to do this is of course to display what you want to see, directly from the browser:
<?php

function doesPlusWork(): void
{
    $counter = 1;
    echo $counter;
    $counter++;
    echo $counter;
    $counter++;
    echo $counter;
}

doesPlusWork();

?>
And logically, your browser will show you:
123
Well that’s great, but what if you’re faced with a slightly more complex code, where several variables are handled, and you want to know the status of each of them at a given time? Obviously, you could say to me: “Well, I’m going to display everything I need, and then there you go, right?” Yes we could, but that’s not how we’re going to do it.
The limits of the “wild echo”
Let’s imagine a fairly simple UseCase, which would consist of a simple route that would return a list of folders, sorted into 3 categories public, private and other. On the code side, we would therefore organize this into 2 classes. First, a Controller to set the entry point:
<?php

/*
...
*/

/**
 * @var FolderUseCase
 */
private $folderUseCase;

public function __construct(FolderUseCase $folderUseCase)
{
    $this->folderUseCase = $folderUseCase;
}

/**
 * @Route("/folders/", methods={"GET"})
 */
public function folders(): JsonResponse
{
    return new JsonResponse([
        'public' => $this->folderUseCase->getPublic(),
        'private' => $this->folderUseCase->getPrivate(),
        'other' => $this->folderUseCase->getOther()
    ]);
}
Let’s start from the fact that our files are information that we would retrieve directly from the application’s Filesystem. In this case, on the UseCase side, we could write
<?php

/*
...
*/

private const FOLDER_TYPE_PUBLIC = 1;
private const FOLDER_TYPE_PRIVATE = 2;
private const FOLDER_TYPE_OTHER = 3;

private const FOLDER_TYPES = [
    self::FOLDER_TYPE_PUBLIC,
    self::FOLDER_TYPE_PRIVATE,
    self::FOLDER_TYPE_OTHER
];

private function getFolder(int $folderType): string
{
    if (! in_array($folderType, self::FOLDER_TYPES)) {
        throw new UnauthorizedHttpException('Provided folder type (' . $folderType . '.) is unknown');
    }

    $folderPath = __DIR__ . $folderType;
    if (!file_exists($folderPath)) {
        mkdir("folder/" . $folderPath);
    }

    return $folderPath;
}

public function getPublic(): string
{
    return $this->getFolder(self::FOLDER_TYPE_PUBLIC);
}

public function getPrivate(): string
{
    return $this->getFolder(self::FOLDER_TYPE_PRIVATE);
}

public function getOther(): string
{
    return $this->getFolder(self::FOLDER_TYPE_OTHER);
}
That’s it, we generally have what we need for our little example to run correctly. Imagine it’s not working well, and you want to display variables in your code, how would you do it? an echo ? Yeah, that might work in the UseCase. Except that try to do it in your Controller and you will have a little surprise: Indeed, if we look at the signature of the function:
public function folders(): JsonResponseWe see that the return type has been defined as a JsonResponse, which in itself is quite logical for an API return. However, what does the echo function do? It asks PHP to return a response, and therefore modifies the Headers. You will therefore have a CORS error, telling you that the response you are trying to send with the echo does not conform to the one defined in your signature. But then, how are we going to be able to display the information we want? (I think you guess, right?)
Make way for the debugger
To fairly quickly introduce the concept of debugger, it is quite simply a piece of software whose purpose is to debug a program, therefore to find and correct faults and errors in it. There are some for many languages, and in our case, the one that will interest us for PHP is Xdebug.
For your debugger to work properly, please make sure that Xdebug is installed and activated on your machine. A simple
php --versionwill allow you to be sure, the response of this command showing you whether or not you are using Xdebug in your PHP configuration. Example :
PHP 7.4.13 (cli) (built: Nov 28 2020 06:24:43) ( NTS )
Copyright (c) The PHP Group
Zend Engine v3.4.0, Copyright (c) Zend Technologies
    with Zend OPcache v7.4.13, Copyright (c), by Zend Technologies
    with Xdebug v2.9.8, Copyright (c) 2002-2020, by Derick Rethans
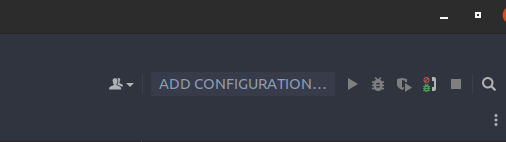
It is now necessary to make PHPStorm understand that you want to use the debugger, and therefore a bridge must be made between the two for the magic to work. To achieve this, we will first click on the “ADD CONFIGURATION…” button, at the top right of your window:
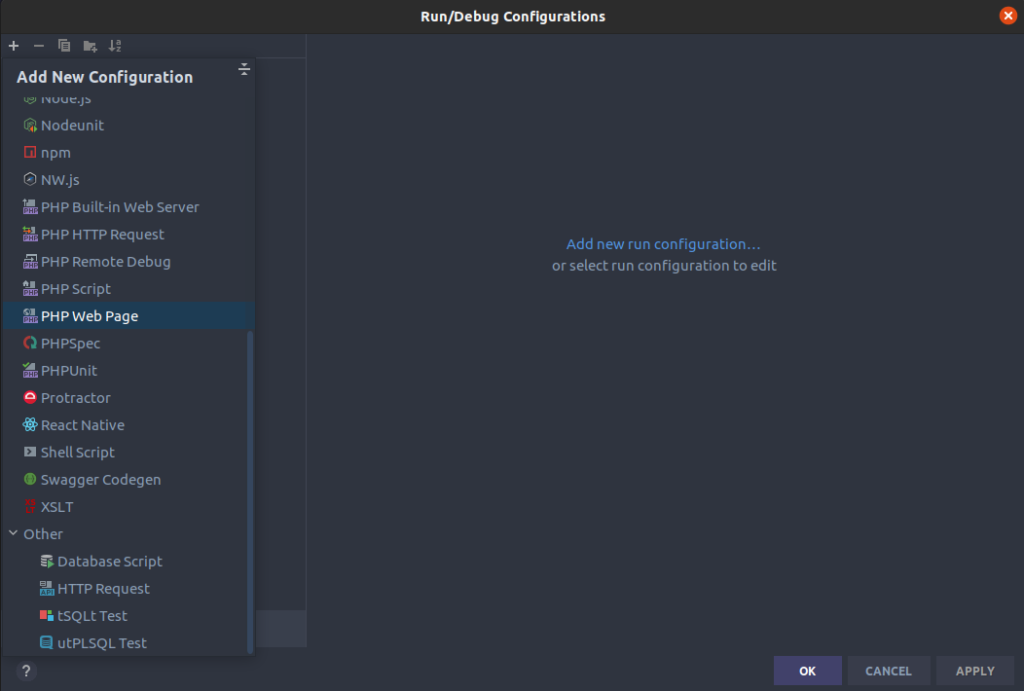
We have now arrived at the window which allows you to list and create debugger configurations. We will using the “+” button at the top left, create one for our PHP application. A configuration list is displayed. You will notice that many choices are possible, so the debugger is not something specific to PHP, but a tool that can be used on any language, provided that debugging software is provided with it. Let’s go back to our sheep, and choose “PHP Web Page”:
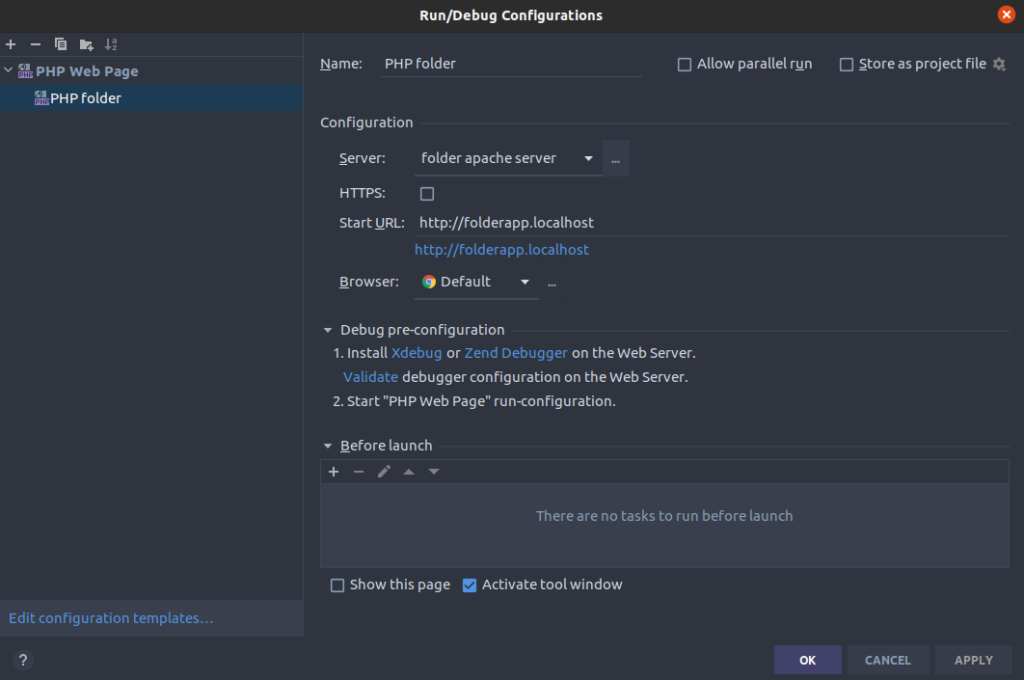
Three pieces of information will need to be filled in for the configuration to be complete:
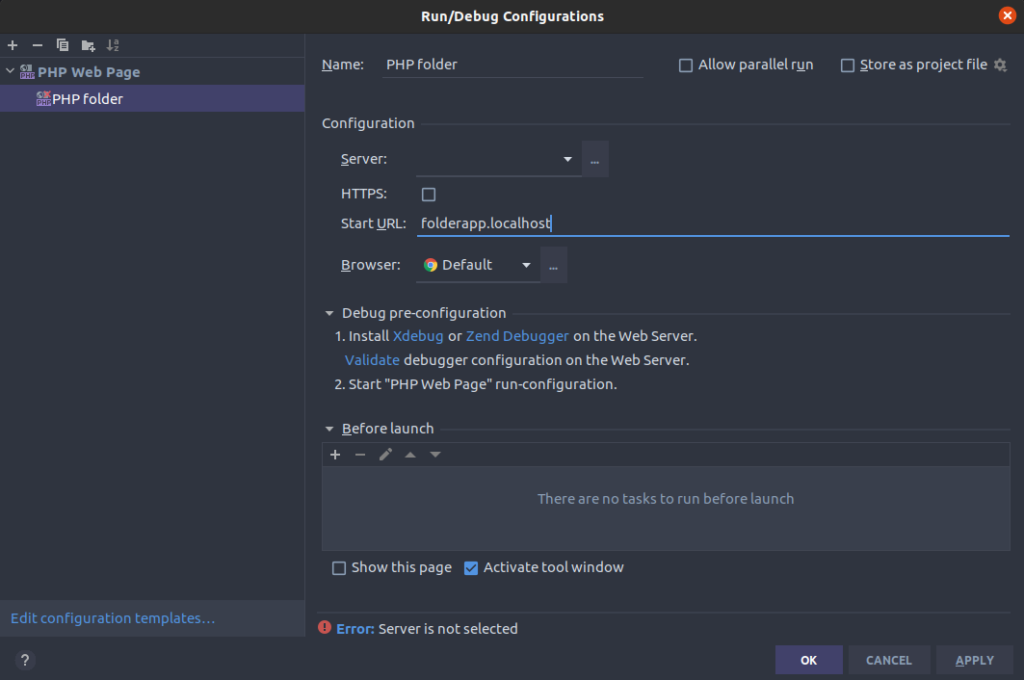
- name of the debugger (put whatever you want)
- access URL to your application (the localhost link you defined)
- server on which the debugger should run
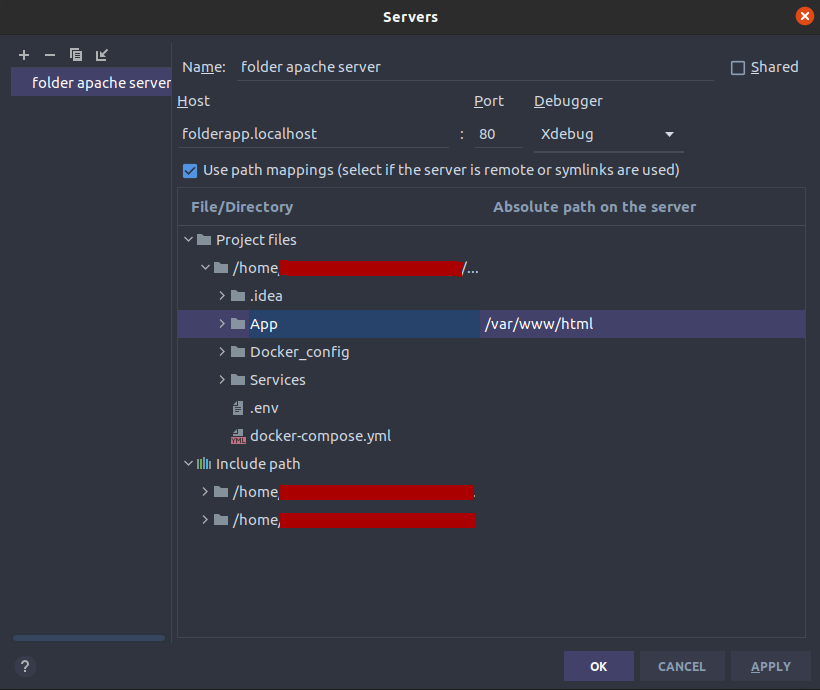
Regarding this last step, we will therefore have to declare a new server. So click on the “…” button next to the “Server” line. We now come to a new window. A Declare the name you want for your server, as well as the URL to access your application. If your Docker configuration uses volume mapping to link your application container to your file system:
volumes:
      - ./App:/var/www/html
you will also need to declare this binding in your server configuration:
Now that our server is ready, we’re back to configuring the debugger, with all the fields filled in. Press the “OK” button at the bottom of the page, and the configuration of our debugger is complete. We are ready for what’s next:
Using the debugger
Now that everything is configured, let’s go back to the top right of your window. The debugger we just created is automatically selected, and the icons on the right become active. The one we will use will be the second: ![]() By clicking on it, your browser will open to the URL you defined in the previous screen. PHPStorm and Xdebug are now listening to everything that happens on the browser. In short, when a request is executed by PHP, Xdebug follows what is happening, and will allow us to put in the code what we call breakpoints. These can be put on all lines of your code that contain PHP. When the code is played the execution will pause and you will then have access to all the execution context. Let’s see how it works with the following screenshot:
By clicking on it, your browser will open to the URL you defined in the previous screen. PHPStorm and Xdebug are now listening to everything that happens on the browser. In short, when a request is executed by PHP, Xdebug follows what is happening, and will allow us to put in the code what we call breakpoints. These can be put on all lines of your code that contain PHP. When the code is played the execution will pause and you will then have access to all the execution context. Let’s see how it works with the following screenshot:
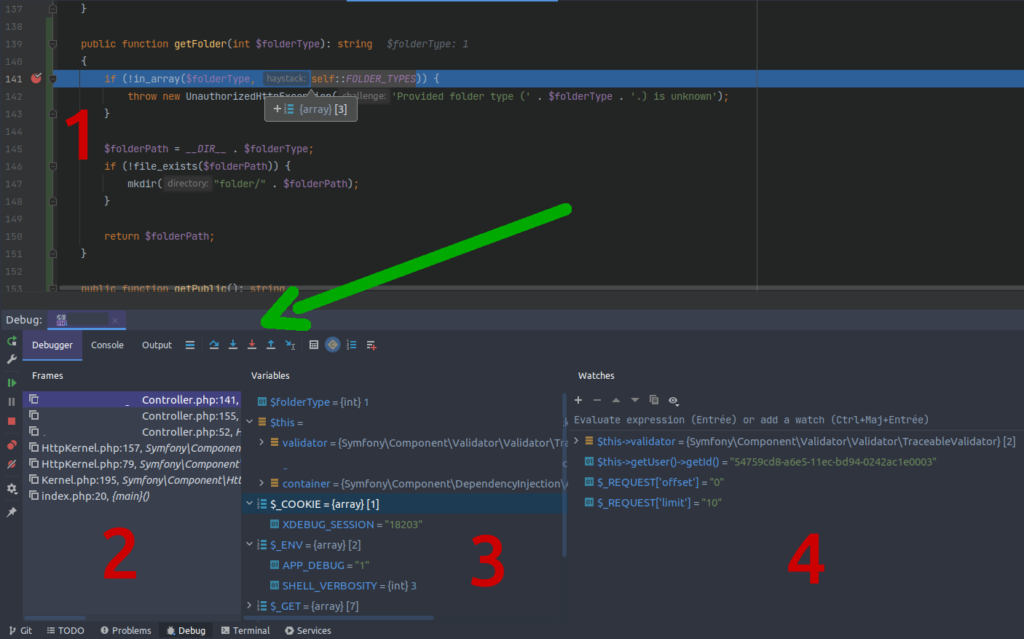
- in 1, on the left of your IDE, this is where you can set your breakpoints. The program will stop on each line that contains one.
- in 2, when you are stopped on a line of code, the chronology of the methods and files called since the execution of the code is displayed. By clicking on one of them you can go to the file and go up in this context.
- in 3, the list of available variables as well as their types and values are present. We will be able to find there:
- local variables: for example here: $folderType
- the variables of the current class: $this->…
- global/superglobal variables: $_GET, $_POST, $_REQUEST…
- in 4, the watches tab. In the latter, you will be able to follow the value of all the variables or expressions you want, as long as it is available at this moment of execution. You see that in my case, I can retrieve the ID of a logged in user, retrieve the validator from Symfony. In short, any expression is accessible, and this is the great strength of the debugger.
- the green arrow on the previous screenshot is the debugger toolbar. Several actions are available:
 Redirects to current line
 Moves to the next line of the same file
 Enters the next function
 Forces to enter the next function
 Gets out of function
 Plays the script to the cursor
Conclusion
With all these tools, you now have the possibility of visualizing all the variables which you need within the framework of your debug, and also of navigating line by line in your code, and this during its execution. So, convinced to abandon debug to echo, var_dump, dd and other junk? 😁